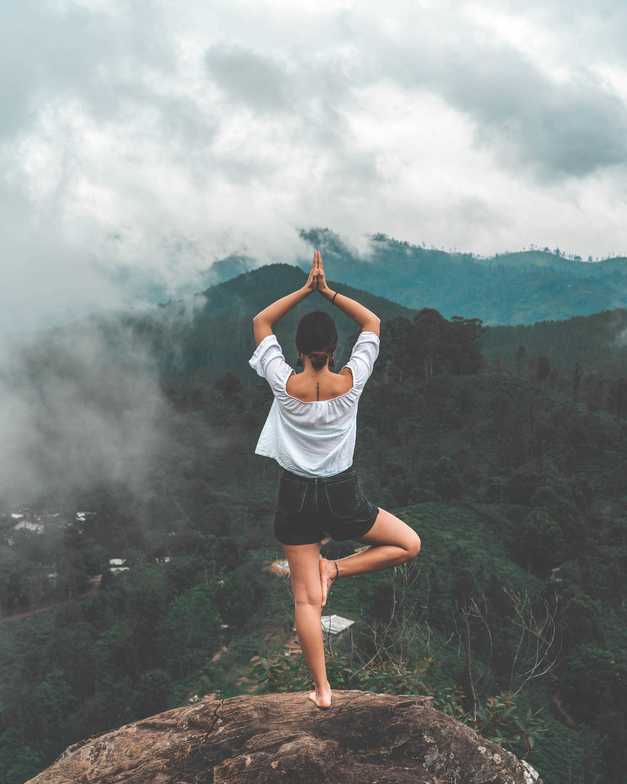
Yoga has become very popular recently, but did you know it has been around for 5,000 years? It combines physical movement, breathing techniques, and meditation. There are many different types of yoga, which is why it can be used for various purposes including physical exercise, mental clarity, flexibility, inner peace, breath, and relaxation.
Today we are going over the best poses for lower back pain. You don’t need any extra equipment to perform these! It may be helpful to set your phone camera up to be able to see how you are performing the poses without an instructor guiding your practice. Remember to go at your own pace. If you have any pain, please consult your health care provider.
Pose 1: Bridge Pose
AKA Setu Bandha Sarvangasana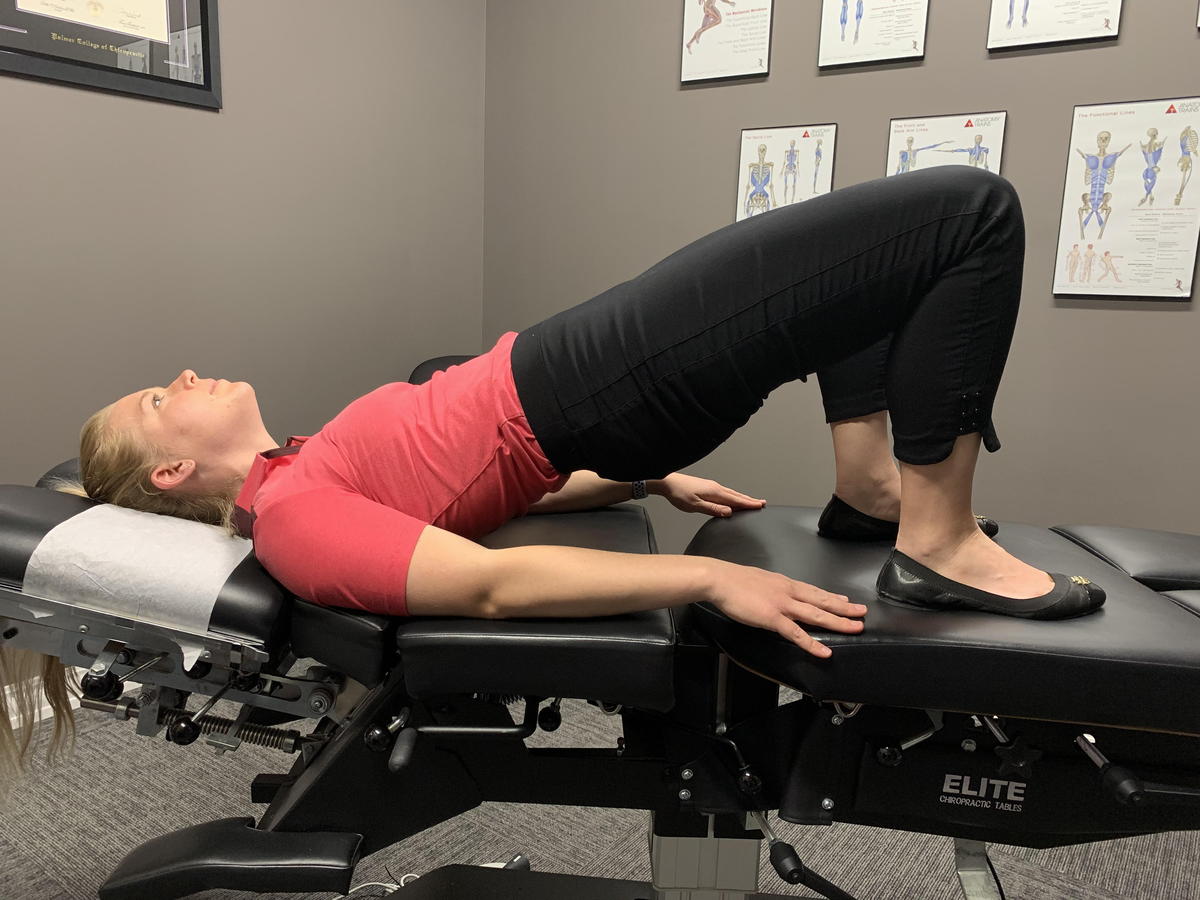
“Bridge Pose can be whatever you need – energizing, rejuvenating, or luxuriously restorative,” says Yoga Journal.
Our purpose of performing the Bridge Pose in this flow is to activate the muscles that help you stabilize, so your back does not have to do all the work. When we sit, our glutes turn off, so working them specifically helps to wake them up again.
Lie flat on your back, with your knees bent, your feet on the floor, and your heels as close to your glutes as you can get them. You can place a pillow, or folded blanket/towel under your shoulders to support your neck.
The first step is to engage your glutes – squeezing your buttocks – so that you are using these muscles rather than your low back to perform this pose. Your low back should start nice and flat on the ground.
On your exhale, lift your pelvis off the floor towards the ceiling while you press your feet and arms into the floor. Be sure your thighs stay in line with each other – we don’t want your knees to crash in! They should stay above your feet. Think about lengthening your tailbone towards your knees, while your front hip bones are lifting towards your belly button.
All of these instructions are to help you so your lower back is not arching. This is where a camera or mirror will come in handy to double check!
Level 1: Hold this pose for 30 seconds (don’t forget to breathe) (I’m not joking!)
Level 2: Hold this pose for 60 seconds.
Level 3: Perform repetitions of this pose, rising up on the exhale, lowering to the floor on the inhale.
Extra Credit:
After you feel strong and stable in this pose, you can move forward to *Eka Pada* Setu Bandha Sarvangasana (Eka means one, pada means leg)
After you are in the bridge pose, inhale and extend one leg perpendicular to the floor. On your exhale, return the foot to the ground. Inhale and lower your bridge to the floor. Repeat with the other side! This will work a different stabilizer, the multifidus muscle. A HUGE player in low back pain that keeps coming back.
Pose 2: Sphinx and Cobra Pose
The average person bends forward between 2,000 and 4,000 times A DAY! This doesn’t even include sitting. Backbends are an incredible way counteract this pressure and help relieve lower back tightness. Backbends come with a few principles: keeping your head in line with your spine allowing it to continue the curve, begin with your base and work up, engage your core and breathe to allow your low back muscles to relax, use a warm-up before practicing deep backbends, and follow backbends with a few breaths in a neutral spine position.
Sphinx
AKA Salamba Bhujangasana (sa- with, alabma- support)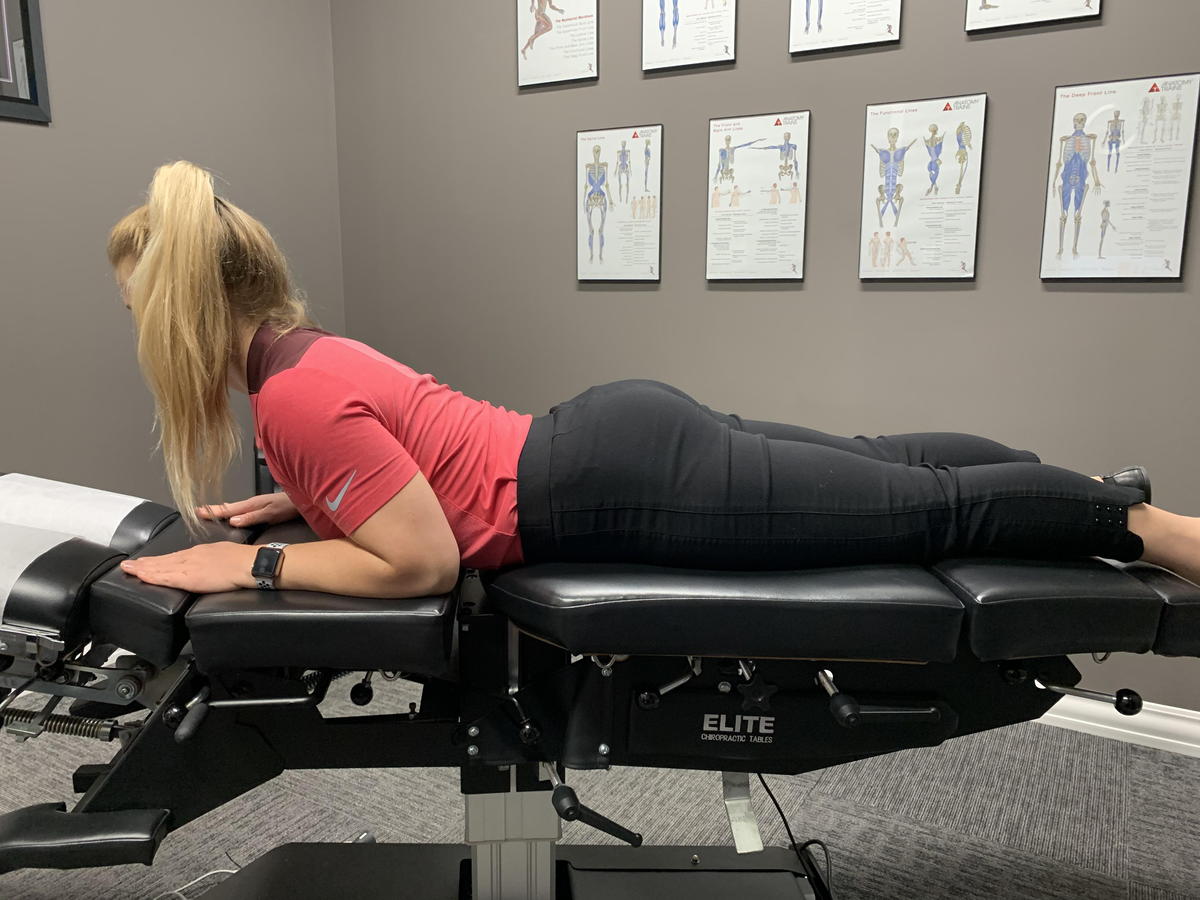
The Sphinx pose is the beginning foundation to these backbends, so we start here, especially if we have stiffness.
Start by lying on your stomach, placing your arms at a 90 degree angle with your forearms resting on the floor. If you rotate your thighs inward, so your toes are pointing in, this helps shut off the overactive back muscles. Focusing on lengthening your tailbone towards your heels protects the low back.
Inhale and lift your neck, head, and upper chest off of the floor, letting a small arch form in your upper torso. Your forearms remain on the floor with your elbows under your shoulders. The variation shown above is using only the core to lift and not using the arms to push. We are working to strengthen the stabilizers and let the overactive muscles relax.
On your exhale, lower slowly back towards the floor. Perform a set of ten along with your slow breaths. If this is well-tolerated, move on the the cobra!
Cobra
AKA Bhujangasana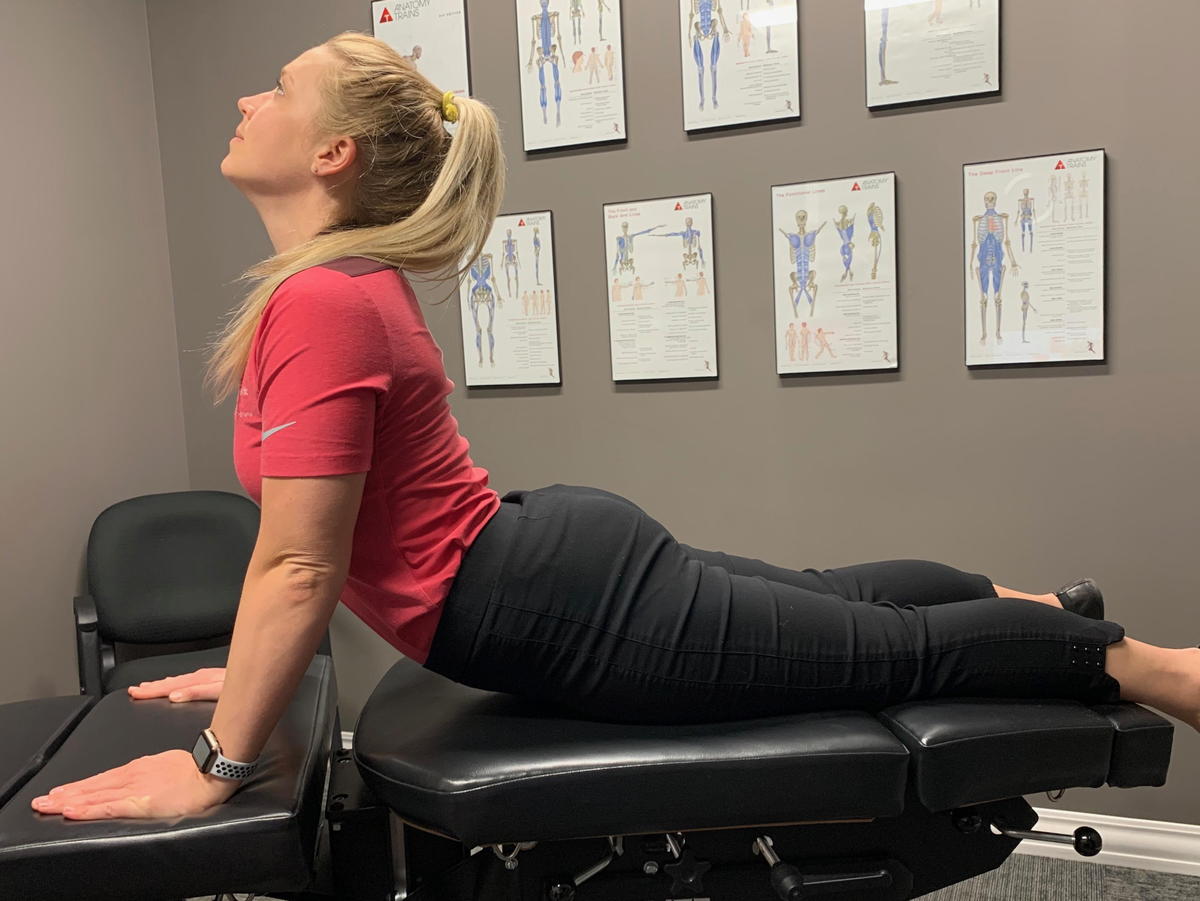
In Cobra, your arms take on a more active role. It’s a double-action move: pushing up with your hands to lift your chest while pushing down with your pelvis engaging your core.
Place your hands under your shoulders, tucking your elbows close to your body. Gently lift your head and upper body off the floor just like the Sphinx pose, keeping your shoulders back.
From here, press through your hands to fully extend your arms. If you feel a pinching, press up as far as you can until you touch the pinching feeling, then relax back to the floor. As you come down to the floor each time, alternate which way you turn your head to help your neck.
The reason we are performing sets of these poses rather than holding them is to help provide our discs with healthy movement. Try another set of ten, matching your slow breathing. Inhale and lift, exhale and relax.
Pose 3: Child’s Pose
AKA Balasana (bala = child)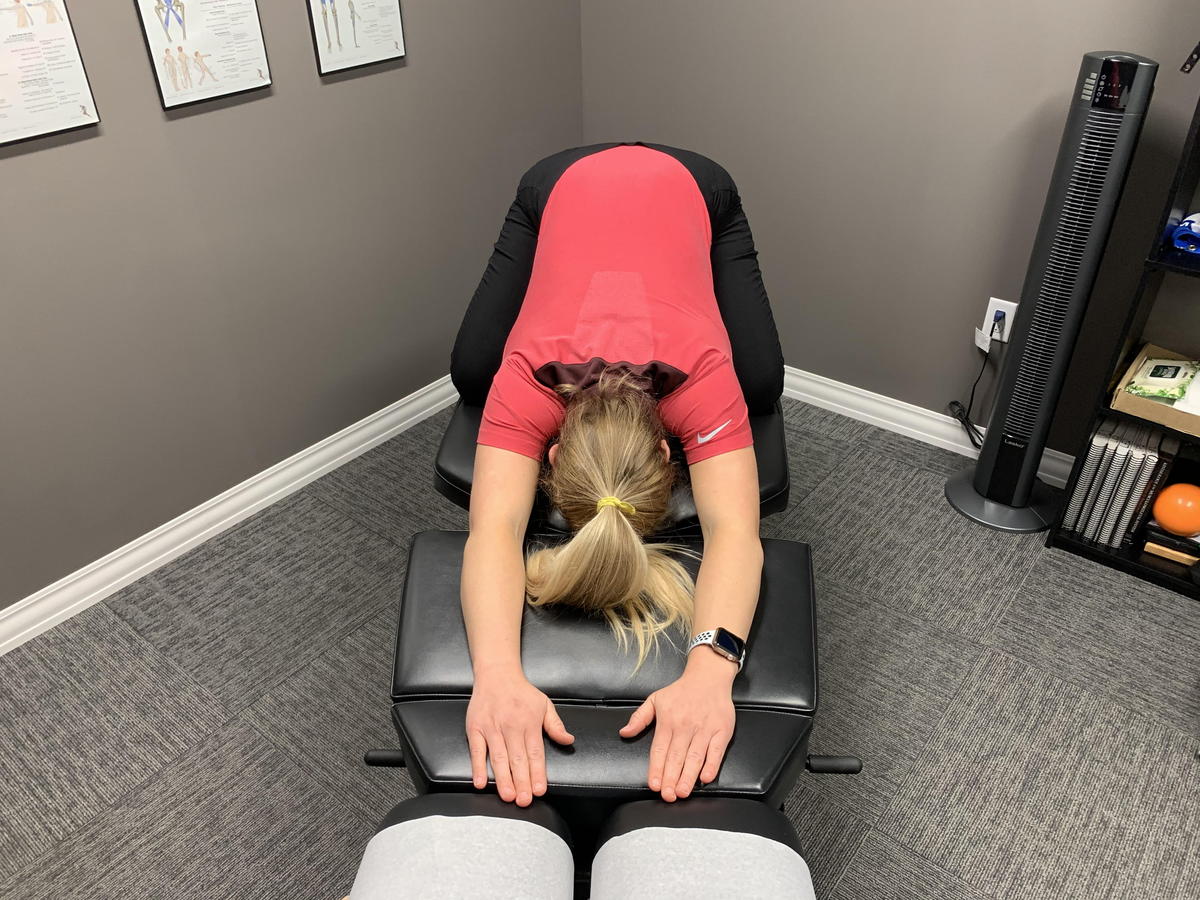
Child’s pose is a resting pose. Here we will focus on belly breathing to help stretch and decompress the lower back.
Start by sitting on the floor on your knees. Your feet should touch, while your knees come as wide as your hips. Do this to your tolerance – if you have knee or foot pain with this you can try folding a towel or blanket and placing it between your thighs and calves.
Lay your torso down between your thighs. Your arms can rest beside you with the palms up, or can reach forward with the palms down. Find comfort in this position and begin to focus on your breath. Imagine that your breaths in are helping to expand the low back rather than the chest.
You can also walk your hands to either side of your mat for a deep low back stretch of the QL muscle.

Bonus Pose: Corpse Pose
AKA Savasana (sava = corpse)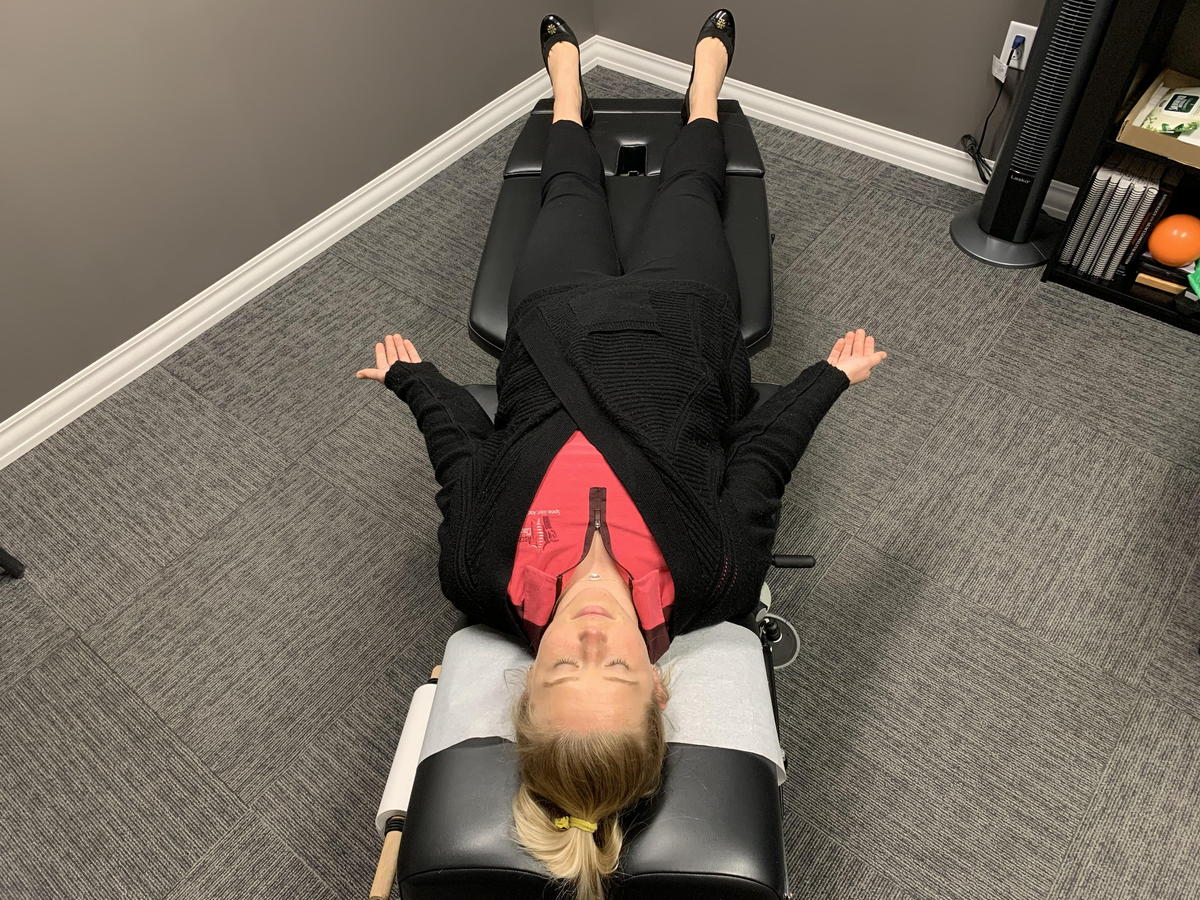 I added a sweater because I get cold in this pose!“Savasana is a pose of total relaxation – making it one of the most challenging,” Yoga Journal.
Corpse pose is just what it sounds like – laying still. Lay on your back with your arms stretched out to where they will be comfortable, resting the backs of the hands on the floor. Legs are extended in front of you, muscles and belly soft. We want to be in a neutral position so check that your legs are both the same distance from midline, and your feet are turned out equally.
You can support the back of the skull and neck with a folded towel or blanket. Relax your shoulders away from your ears, having the shoulder blades rest evenly on the floor. Be sure your chin isn’t sticking out towards the ceiling.
Unclench the muscles of your jaw, un-wrinkle your forehead muscles, and close your eyes. Set shorter goals first, as this pose is more challenging than it looks. Try laying in corpse pose for 2 minutes, work your way up to 5 or 10! This should be a moment of stillness and breathing. We have been using the Headspace App (try it for free!) recently to have someone walk us through a mindful minute!
Harvard's blog post discussing the newest guidelines for the treatment of low back pain includes yoga and other exercise & mindfulness programs alongside chiropractic care. Lincoln is lucky to have an incredible yoga community, so feel free to reach out with any questions or to be pointed to the best resources! If you are looking for a chiropractor in Lincoln, NE, schedule with Ascend Chiropractic today! 402-480-6680

Brooklyn
Contact Me